I previously posted a buildlog of my adventures in creating the accent lighting for my basement. The software to run the lights has been a bit of a journey that is only now nearing something resembling stability.
The Hardware
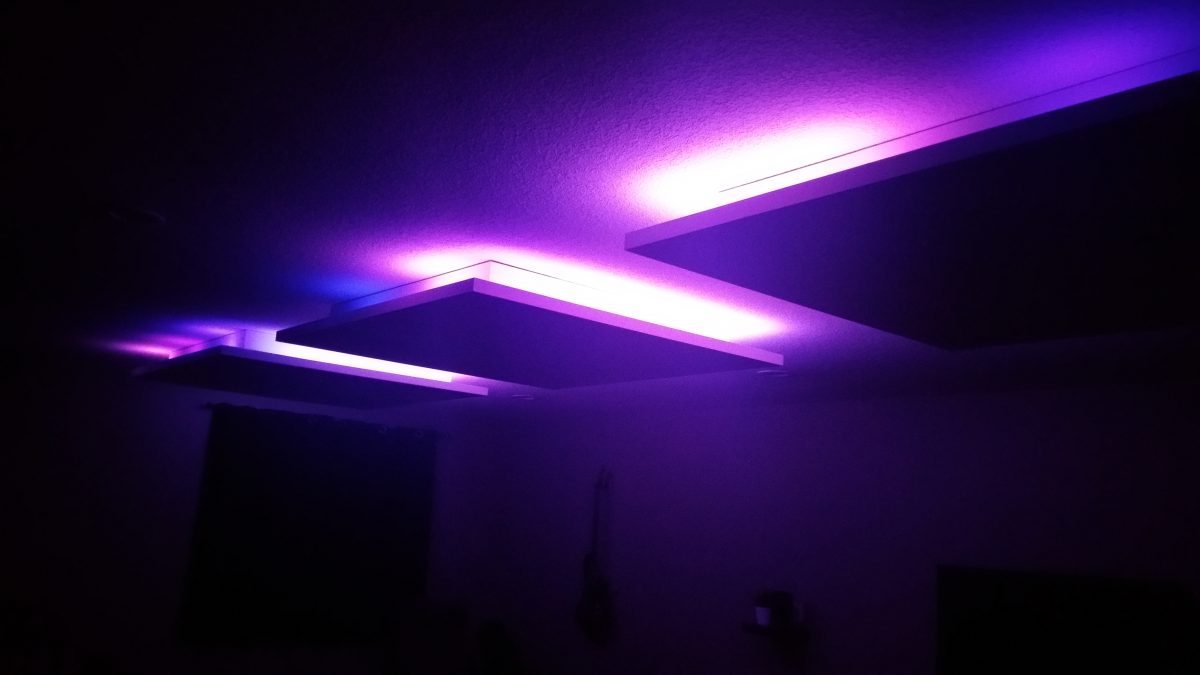
The system is driven by an old Raspberry Pi 1 B+. The plus is important because it gave me 4 USB ports. I use 3 of them to connect 3 AdaFruit’s FadeCandy. Or is it FadeCandies? Regardless, each FadeCandy, in turn, drives one of the 3 boxes. Each box hosts 4 WS2812b strips. Pictures here.
The Software
Processing
Processing is a great tool for working with LED art. It allows you to map the pixels in physical space and map many kinds of animations to the LEDs. Unfortunately all of that overhead comes at a cost. The single CPU core and limited RAM on the Raspi struggled to produce a reasonable frame rate. We’re talking 5-6 FPS max.
One of the cool features of FadeCandy is that it listens on a network port so that you can run the processing code on another machine. However, I wasn’t really interested in that approach. I wanted the Raspi to handle everything.
I tried a headless linux setup with Xvfb. I tried a standalone Java app with the processing.jar, but to no avail. Eventually, I gave up on pixel mapping and moved on.
Node
I spend my days developing for the web so I’m well versed in JavaScript. I figured I could build a specialized Node.js app that would perform reasonably. I was wrong. I skipped the fancy 3D space mapping features of Processing for a simple one dimensional array of LEDs. I wrote a few animations by altering the hue with sine waves, but ultimately the Raspi broke a sweat and barely produced 10 FPS.
So I gave up on real time calculations and pre-rendered all of the frames out to a file ahead of time. The node app was simplified to read the frames in from the file and send them over to the FadeCandy server. Actually there were several files–one for each animation. This improved the frame rate to around 30 FPS.
At this time, I also added MQTT support to switch between animations. However, cross fading between the animations caused to the frame rate to drop significantly as the Raspi once again struggled with the calculations needed to blend two frames.
Now I know what you’re thinking, I should just go buy the new Raspberry Pi and be done with it. Then I could run Crysis on my ceiling. Well that’s not my style, but it did give me an idea.
GPGPU
Nope. In theory yes, but no. I looked into libraries in a few different languages and none of them really support GPGPU on the Raspberry Pi. I’m sure the internet will prove me wrong, but I couldn’t get anything working.
GO
I’ve been aware of go (aka golang) for some time, but I had never looked deeply into it. The other night I had some time to start playing with it. I cannot say enough good about go. In less than 3 hours I had a working demo including MQTT support. The app now runs at 60 FPS while only using ~45% of the CPU. I’ve pushed it all the way to 200 FPS without the CPU skipping a beat. You can find the code on my GitHub page under pixel-mixer.
Why are you still here? There aren’t even any pictures. More on pixel-mixer soon.